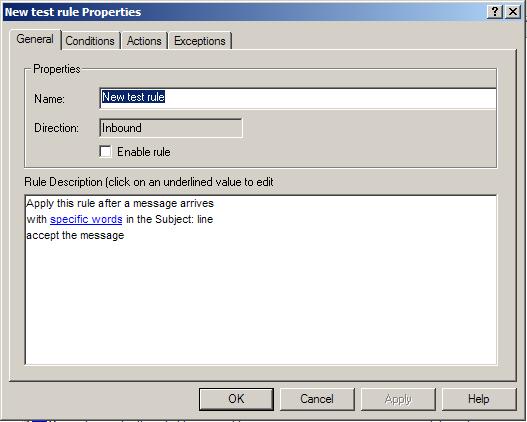
The process of modifying an existing rule is started by double-clicking any rule listed in the left pane of the Praetor administration program.
From this General tab page, you may change the rule name, choose to enable/disable it, or provide additional entries where provided in the lower Rule Description window. You can also jump directly to any particular component that make up the rule:
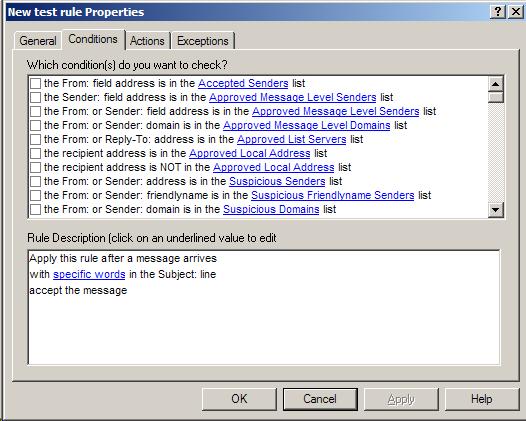
Click on the ConditionS tab to jump directly to the list of conditions. On this page you may change the one currently selected or add more conditions. Your choices will be reflected in the lower Rule Description window and any needed entries can be provided by clicking on the phrases you see underlined and in blue.
When you are done, press  and your changes will take effect
immediately.
and your changes will take effect
immediately.
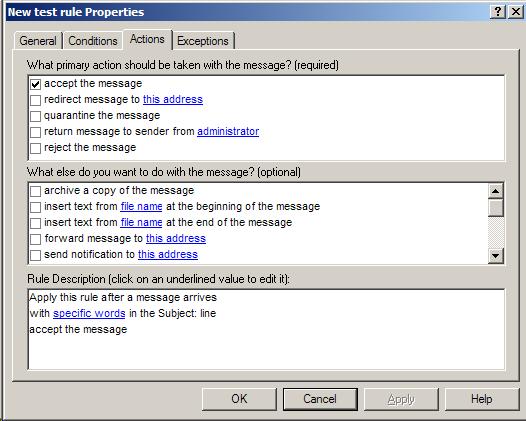
Click on the ACTIONS tab to jump directly to the list of actions. On this page you may change your primary action or select additional optional actions. These changes will be reflected in the lower Rule Description window, and clicking on a blue underlined phrase allows you to provide information needed by those actions.
When you are done, press and your changes will take effect
immediately.
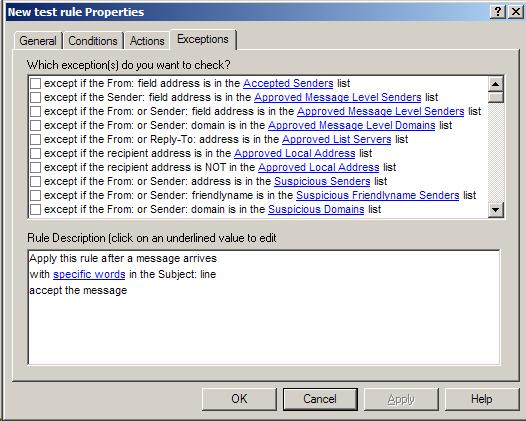
Click on the EXCEPTIONS tab to jump directly to the list of exceptions. On this page you may change any selected exceptions or add more exceptions. These changes will be reflected in the lower Rule Description window, and clicking on a blue underlined phrase allows you to provide information needed by those exceptions.
When you are done, press and your changes will take effect
immediately.
![]() Note:
Note:
|
In Praetor G2 once you press |